What could you give your family this Christmas? Consider a gift you can also make with them: a decorated photograph, an ornament bearing the year, a handwritten card or a keepsake box filled with shared memories. Resin charms and polymer clay slices give these simple blanks color and character. For a family, the activity creates time to talk and imagine together. For a craft shop or workshop organizer, the same idea offers a clear starting point for choosing materials that participants can combine in their own way.
Choose the gift before choosing the components
Picture the recipient opening the gift. A photograph might recall a trip; a tree ornament might mark a first Christmas in a new home; a box of family messages might celebrate a year spent together. Ask each person for one detail they would like to add, then choose a blank with enough space for those ideas. A useful project brief begins with the finished object and the memory it should hold.
Keep a simple sketch beside the materials. Agree on a small color palette, but allow different arrangements within it. A winter scene can use soft blue and white, while a cheerful gift tag might bring together brighter colors. The aim is to give participants a starting point without requiring every finished piece to look identical.
Use resin charms as focal details and clay slices as accents
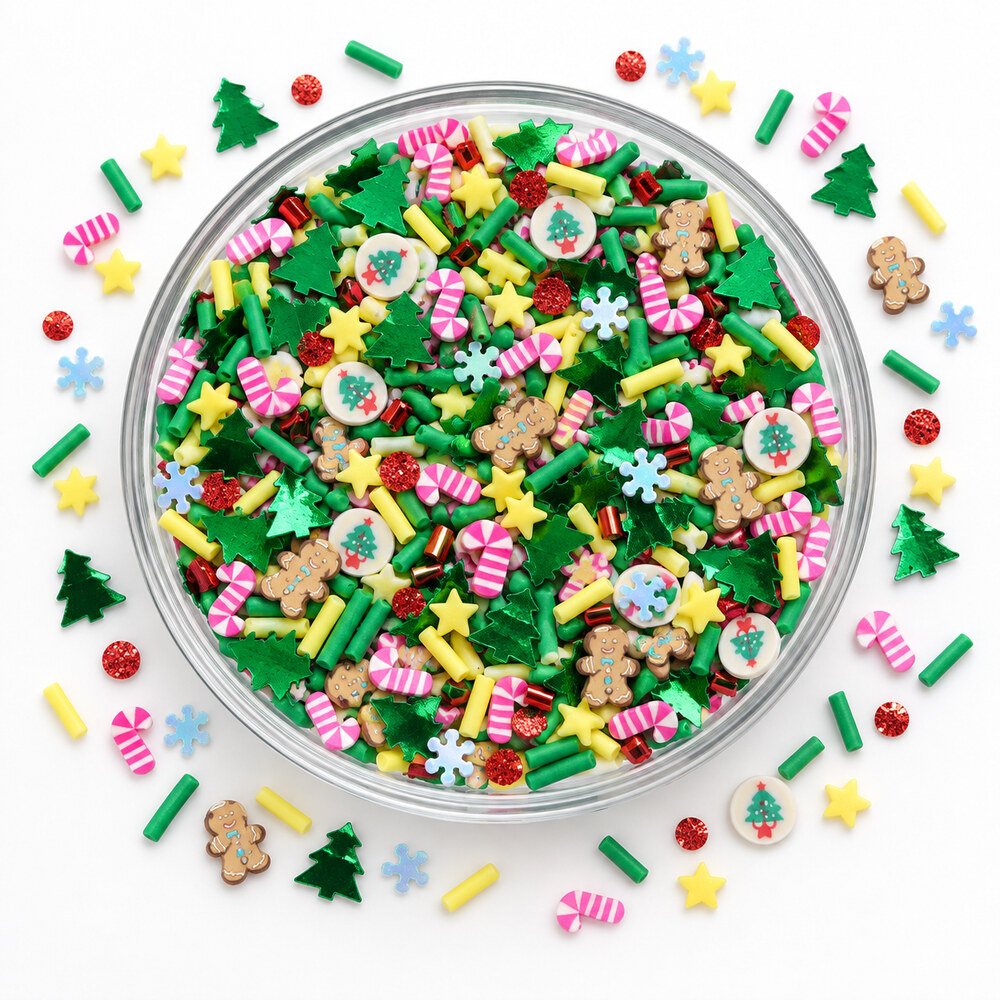
Ready-made resin decorations can provide a focal point on a frame, ornament blank or box lid. Small polymer clay slices can add scattered color or a border around a name or message. Check the footprint, thickness and back shape against the actual blank. Keep the photograph, lettering and opening edges visible rather than covering every available surface.
The project ideas here use finished resin components and prepared polymer clay slices. They do not depend on handling liquid casting resin or baking raw clay. Choose the fixing method for the selected surfaces and follow the adhesive instructions. If a component must hang from a ring or cord, confirm its hole or attachment feature; a decorative flatback does not establish a hanging connection.
Make a family photograph part of the present
Place a family picture beside a plain frame and invite everyone to try an arrangement of decorations along one corner. One person can choose the main resin piece, another can arrange the smaller slices, and another can write a message for the back. Photograph the dry layout before attachment so the chosen positions are easy to remember.
For a workshop, choose a frame with a stable decoration area and prepare one assembled reference to check scale and handling. Participants can still choose their own colors and positions. Keep decorations clear of the glass opening, stand and hanging hardware, and allow the adhesive its specified curing period before the gift is packed.
Turn a plain ornament into a family tradition
Use a flat ornament blank with an existing ribbon hole. Add initials, the year or a short handwritten greeting, then arrange a resin accent and a few polymer clay slices around the lettering. Each person can make a gift for another family member. A shared palette connects the set while the messages make each ornament personal.
If you are preparing activity packs, identify the ornament blank and ribbon separately from the decorative components. Check that the ribbon hole remains accessible and that the complete assembly hangs as intended. A picture of a finished ornament should be treated as a project reference, not evidence that every accessory shown is included in a component order.
Give cards and keepsake boxes a story
A sturdy Christmas card offers space for a drawing, a few small decorative slices and a message from the whole family. A firm-lidded keepsake box can hold notes, photographs or a promise of time together after the holiday. Decorate the outside of the box and leave its lid edges and opening mechanism clear.
Ask participants to add one sentence about the recipient or the memory behind the gift. This gives people who prefer writing or choosing photographs a role in the activity. For a card that will be mailed, test the folded shape and provide packaging that protects raised details. Keep all decorative components away from food and food-contact areas.
Prepare an activity pack that leaves room for imagination
For a family craft afternoon, separate materials into trays by color or project and leave a shared selection in the center. For a retail kit or workshop pack, first make one complete sample using the actual blank and components. Record what it uses, which tools are shared and which materials participants need to provide themselves.
List decorative SKUs, quantity units, blanks, ribbon, adhesive, tools, instructions and packaging as separate items. Define whether the selection is fixed or variable before illustrating a finished pack. Keep small parts away from babies, toddlers and anyone likely to put them in their mouth. Adults should handle cutting tools and adhesive as appropriate, and activity organizers should confirm the intended audience and product suitability.
Source the decorative materials through HAIBU or Qula Craft
HAIBU supplies resin charms and polymer clay slices for wholesale and custom component sourcing. Qula Craft also offers these categories and creative application ideas. Either can discuss the decorative materials for a Christmas project. Prepare frames, boxes, ribbon, tools and adhesive separately unless their inclusion has been explicitly agreed.
Send the selected product links or SKUs, a layout reference, the intended use, quantity and destination. Ask about exact dimensions, back or hole configuration, available designs and packing for each selection. For a workshop or DIY kit, describe the proposed pack contents and what is supplied separately. Current availability, assortment, minimum order and delivery arrangements require a project-specific quotation.
Save the memory as well as the finished gift
Before wrapping, gather the finished pieces on the table and take a family photograph. Write down who made each gift and the story behind its colors or decorations. Keep the sketch with that picture if you would like to repeat the activity next year. A familiar tradition can begin with one frame, one ornament or one box of handwritten notes.
Leave space in the plan for a new idea. The person who changes the colors or adds an unexpected message may create the detail everyone remembers. Preparing the materials carefully makes room for that enjoyable part: sitting together, making choices and turning a small collection of components into a gift with a family story.
| Gift idea | Decorative components | Plan separately |
|---|---|---|
| Family photo frame | Resin focal decorations and a small clay-slice border | Frame, photograph, suitable adhesive and written message |
| Personalized ornament | Selected resin details and polymer clay slices | Pre-holed ornament blank, ribbon, lettering and suitable adhesive |
| Christmas card or tag | Small slices and supported decorative accents | Sturdy card, pens, backing and protective mailing pack |
| Memory box | A resin arrangement and color accents on the exterior | Box, photographs, family notes and suitable adhesive |